Okay, so, our couches are old. I'm talking the family we got them from had moved these to their basement after they got a new couch and then got another new couch and moved their other new couch to the basement and gave us the ones from the basement. We figured out they are at least 12 years old. Those 12 years were years of heavy use by adults and also small children.
Well, the material for the cushions actually started to wear through. Not have holes ripped in them. I mean, get thread bare and then finally wear away until there just isn't any more material.
Yesterday I saw that Big Lots had curtain panels for $5, buy three get one free. I thought, 'hey, if I can get a bunch of panels, I can start piecing together a new couch slipcover as I can and when I need it.' So I went to Big Lots, but alas the only curtains were bright pink that were $5, buy 3 get 1. BUT, in the same aisle were the slip covers. I looked through them.
Now, I have never been a fan of couch slip covers because they always get all wrinkled, they don't stay in place, they LOOK like slip covers, and I have rowdy kids that are on and off and on the couch again all day. Nevertheless, I picked some that looked decent because they were by far the best price (about $60 for the pair) I was going to find on slip covers anywhere. I have priced them for the couches before, but never got any because when it came down to it, I didn't want to spend $100+ on slip covers about which I just wasn't happy.
I came home with my slip covers, reluctantly put on the loveseat one, and purposed to give it a few days to see if I could stand it.
By the end of the night, I decided to keep the slip covers and modify them to suit me. It will be cheaper than buying fabric at Jo-Ann's, and all the pieces are already cut to the general shapes that I need them.
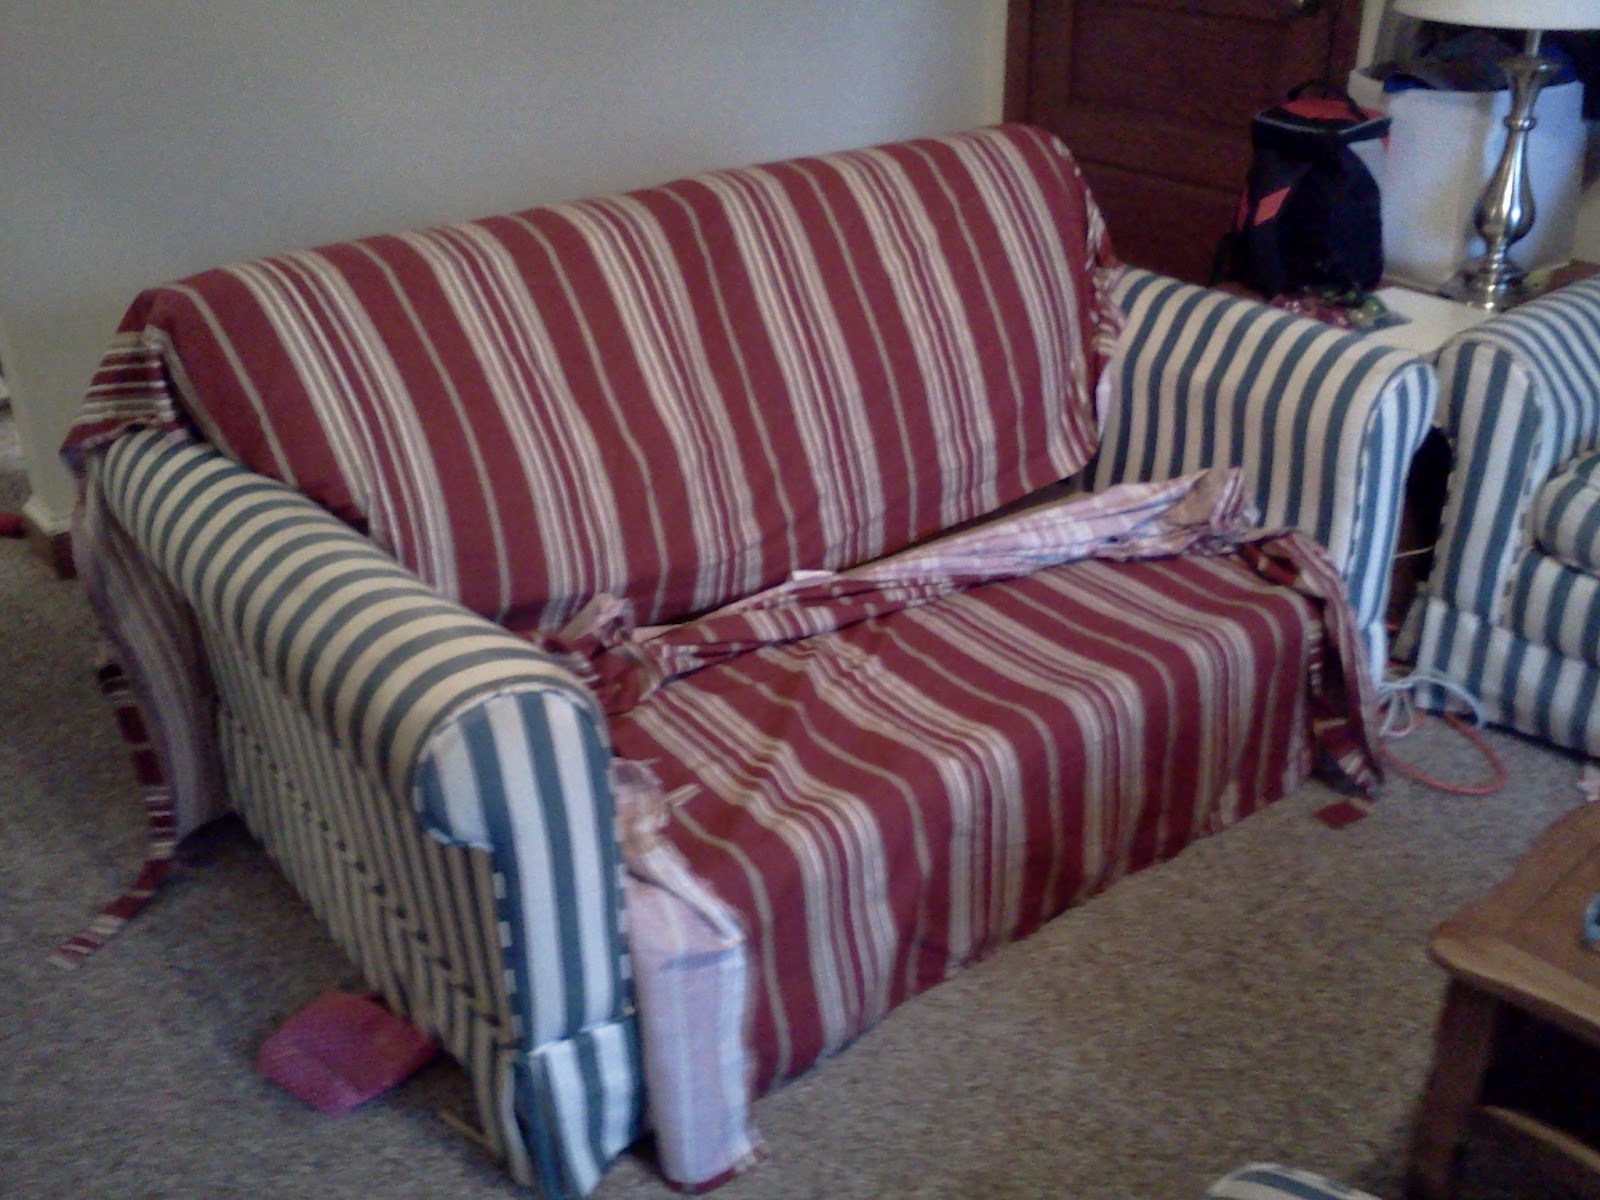
We'll see how this goes! I will have to keep you posted.
Today I washed the cover and cut up the pieces into five big parts: two arm pieces, two front of the arms pieces, and the one big one that goes in the middle. Now, I am going to need to cut the big middle piece into three pieces: the part that goes over the back and down to the floor, the part that goes down the front to the wall, and the rest of the cover I am going to use to make covers for the cushions. Then I will connect the back part and the front part with a panel of plain fabric that I have left over from another sewing project.
That last paragraph seems a little confusing. I will have to post some pictures. But I haven't started the pinning/ sewing part yet.
I found this blog which will hopefully help me out along the way. It was my inspiration for taking on this crazy project. :-)
My take on food as I search for the healthiest, most cost-effective way to feed my family.
Showing posts with label sewing. Show all posts
Monday, September 3, 2012
Wednesday, March 7, 2012
Dehydrator Additions
We recently started sprouting our wheat. Well, we were dehydrating our wheat in the oven, when finally we wised up a bit.
We have had a dehydrator that we borrowed from my FIL awhile ago. Chris researched and got some screen off the internet that is food grade and small enough that the wheat won't fall through. He cut the screen to the size of our dehydrator trays. Then we also purchased two more trays for the dehydrator. Now, we can dry 50% more wheat at once in the dehydrator than we could in the oven (because of the two new trays). We plan to get two more trays (at least) sometime in the future.
Also, my oven doesn't have to be on for 12 hours at a time dehydrating wheat. Drying wheat in the oven is truly inconvenient if it happens to be during the day because I cannot use my oven all day long, or if I want to, I have to take four full trays of wheat out of it, bake what I need to, put them back in, and often end up staying up late or getting up in the middle of the night to take the wheat out of the oven and turn off the oven. Or, just leave it on all night unnecessarily.
Now that our dehydrator is taller, it doesn't fit in its original box. This weekend, I made it a cute cover. It's not completely done, as I would like to make it into a bag with handles and a top flap cover and maybe even a zipper (Chris thinks I'm crazy to do this all for a dehydrator) or at least a little velcro. But, since we aren't done buying trays, and I don't know how many we will have at the end of this (you can use it with up to 12 trays!, and we only have six), for now it just has a cover that slips over the top while I'm not using it. At least it's sparkle-ey and full of stars! :-)
I was excited about this sewing project because it was round. (The first round project I have attempted!) I measured the circumference and the diameter separately, and didn't do the math to see if they were close to each other, so the top is a little off... but I didn't care enough to take the whole thing out and actually do all that math! So it will just have to look a little funny on top. :-)
We have had a dehydrator that we borrowed from my FIL awhile ago. Chris researched and got some screen off the internet that is food grade and small enough that the wheat won't fall through. He cut the screen to the size of our dehydrator trays. Then we also purchased two more trays for the dehydrator. Now, we can dry 50% more wheat at once in the dehydrator than we could in the oven (because of the two new trays). We plan to get two more trays (at least) sometime in the future.
Also, my oven doesn't have to be on for 12 hours at a time dehydrating wheat. Drying wheat in the oven is truly inconvenient if it happens to be during the day because I cannot use my oven all day long, or if I want to, I have to take four full trays of wheat out of it, bake what I need to, put them back in, and often end up staying up late or getting up in the middle of the night to take the wheat out of the oven and turn off the oven. Or, just leave it on all night unnecessarily.
Now that our dehydrator is taller, it doesn't fit in its original box. This weekend, I made it a cute cover. It's not completely done, as I would like to make it into a bag with handles and a top flap cover and maybe even a zipper (Chris thinks I'm crazy to do this all for a dehydrator) or at least a little velcro. But, since we aren't done buying trays, and I don't know how many we will have at the end of this (you can use it with up to 12 trays!, and we only have six), for now it just has a cover that slips over the top while I'm not using it. At least it's sparkle-ey and full of stars! :-)
I was excited about this sewing project because it was round. (The first round project I have attempted!) I measured the circumference and the diameter separately, and didn't do the math to see if they were close to each other, so the top is a little off... but I didn't care enough to take the whole thing out and actually do all that math! So it will just have to look a little funny on top. :-)
![]() |
| See the funky fold in the top? |
Monday, February 27, 2012
Baby Doll Blanket
I have been doing a lot of sewing recently. I made curtains (remember my first blind hem stitch?) for my dining room, I learned how to make cloth diaper covers (pictures coming soon!), and I made Ellie a blanket for her baby dolls. She is always stealing my kitchen towels and washcloths off the oven door, and I find them all over the house on top of babies who are "sleeping" or "crying" or "so grumpy." So, I decided to make her a blanket for them.
It kind of turned into a bigger project than I was planning, and it looks almost like a mini-quilt. Please note, I have no idea what I am doing in this area, and I just kept adding things to it. I used the seam technique that I learned for my curtains so that the back panel would wrap around and overlap on the front sides a bit. I used an old towel in the middle of the front and back fabric as a kind of batting, to make it thicker (which it ended up really not needing, but now it is nice and thick!). And almost by accident I found the green remnants of the car cover I made for Chris for his mustang!
And here it is, "My Baby Doll Blanket" as Ellie now calls it. :-) (And also Ben, who always wants to be in the picture, but also sat next to me and poked himself with pins while I made this during afternoon naptimes.)
It kind of turned into a bigger project than I was planning, and it looks almost like a mini-quilt. Please note, I have no idea what I am doing in this area, and I just kept adding things to it. I used the seam technique that I learned for my curtains so that the back panel would wrap around and overlap on the front sides a bit. I used an old towel in the middle of the front and back fabric as a kind of batting, to make it thicker (which it ended up really not needing, but now it is nice and thick!). And almost by accident I found the green remnants of the car cover I made for Chris for his mustang!
And here it is, "My Baby Doll Blanket" as Ellie now calls it. :-) (And also Ben, who always wants to be in the picture, but also sat next to me and poked himself with pins while I made this during afternoon naptimes.)
Monday, January 30, 2012
Nothing to do with food...
check it out! my first successful blind hem stitch! making curtains for the dining room. :-)
Subscribe to:
Posts (Atom)


